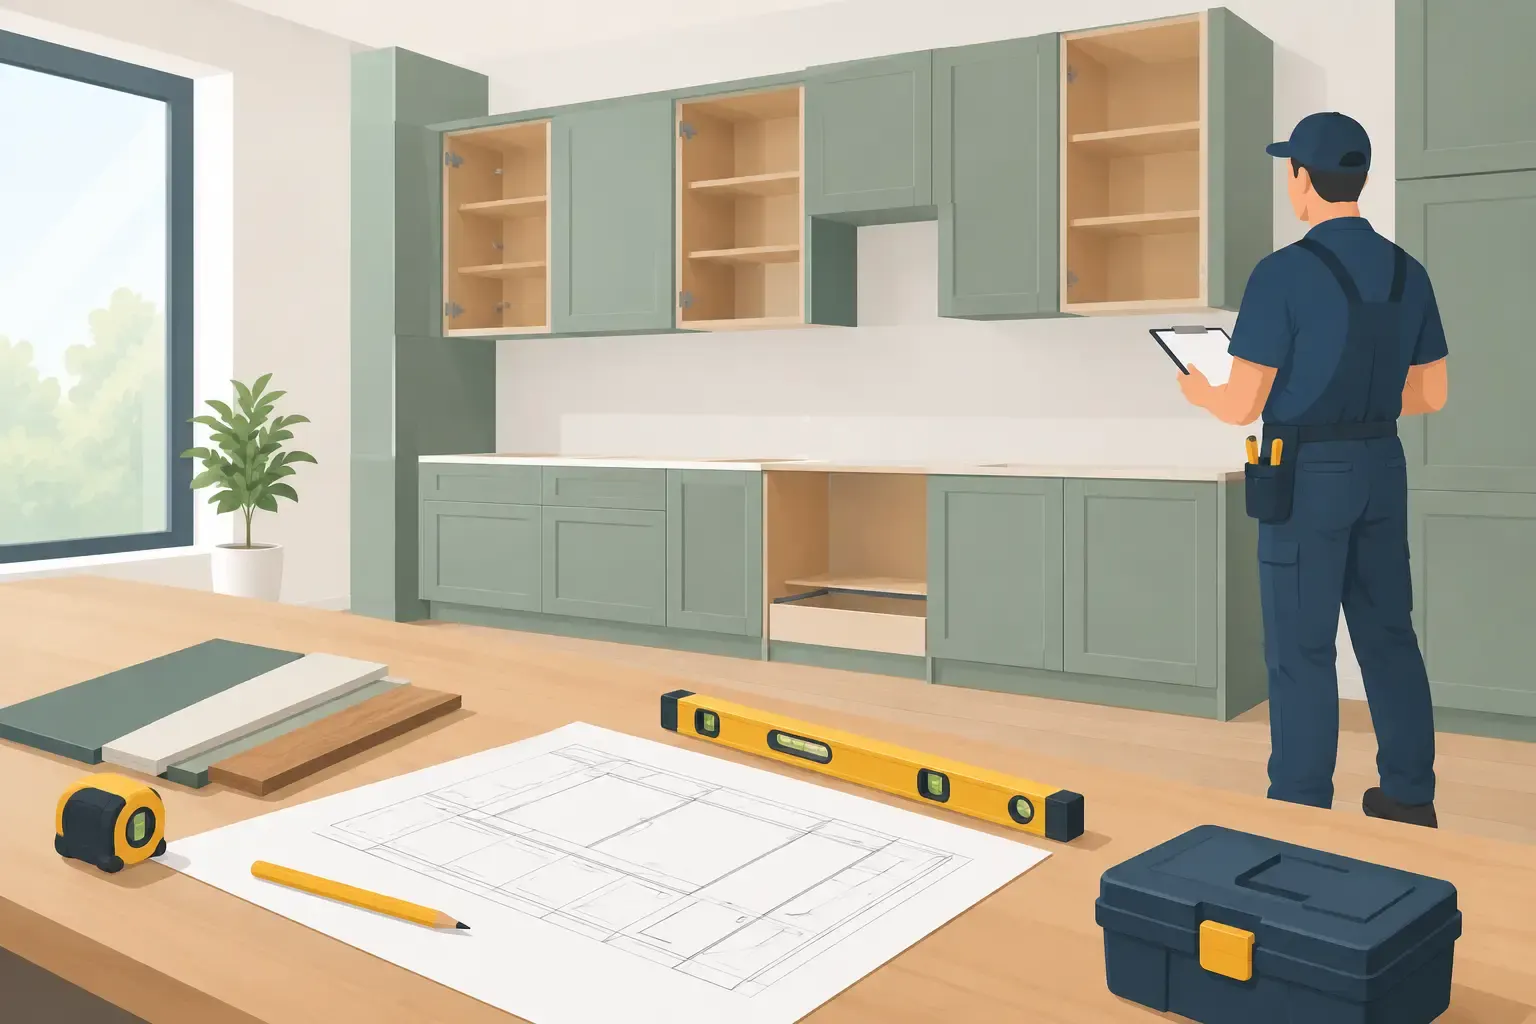
A cabinet installation day should feel organized, not disruptive. The best way to protect your timeline, your home, and your investment is to know how to prepare for cabinet installation before the crew arrives. A few thoughtful decisions ahead of time help prevent last-minute surprises, give installers room to work precisely, and bring you closer to a kitchen or bath that feels made for the way your family lives.
Cabinets are not simply placed against a wall. Proper installation depends on accurate measurements, level surfaces, clear access, and coordination with flooring, appliances, plumbing, electrical work, and countertops. Whether you have chosen fully custom cabinetry or a budget-conscious stock cabinet solution, preparation is where a smooth project begins.
Confirm the Final Plan Before Materials Arrive
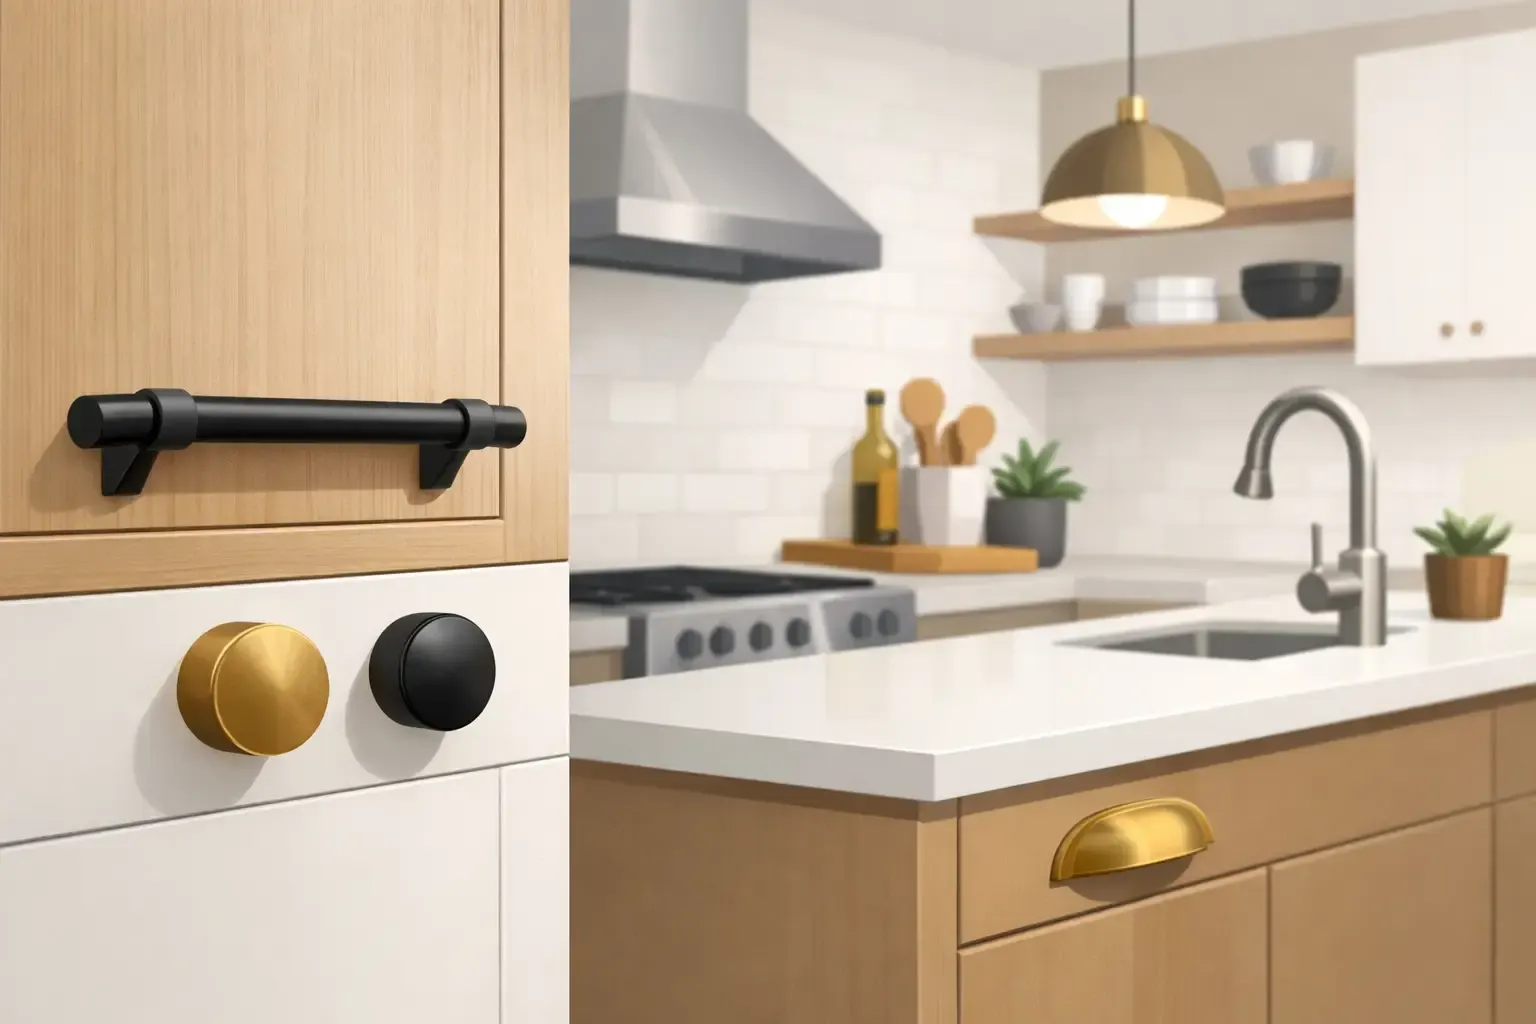
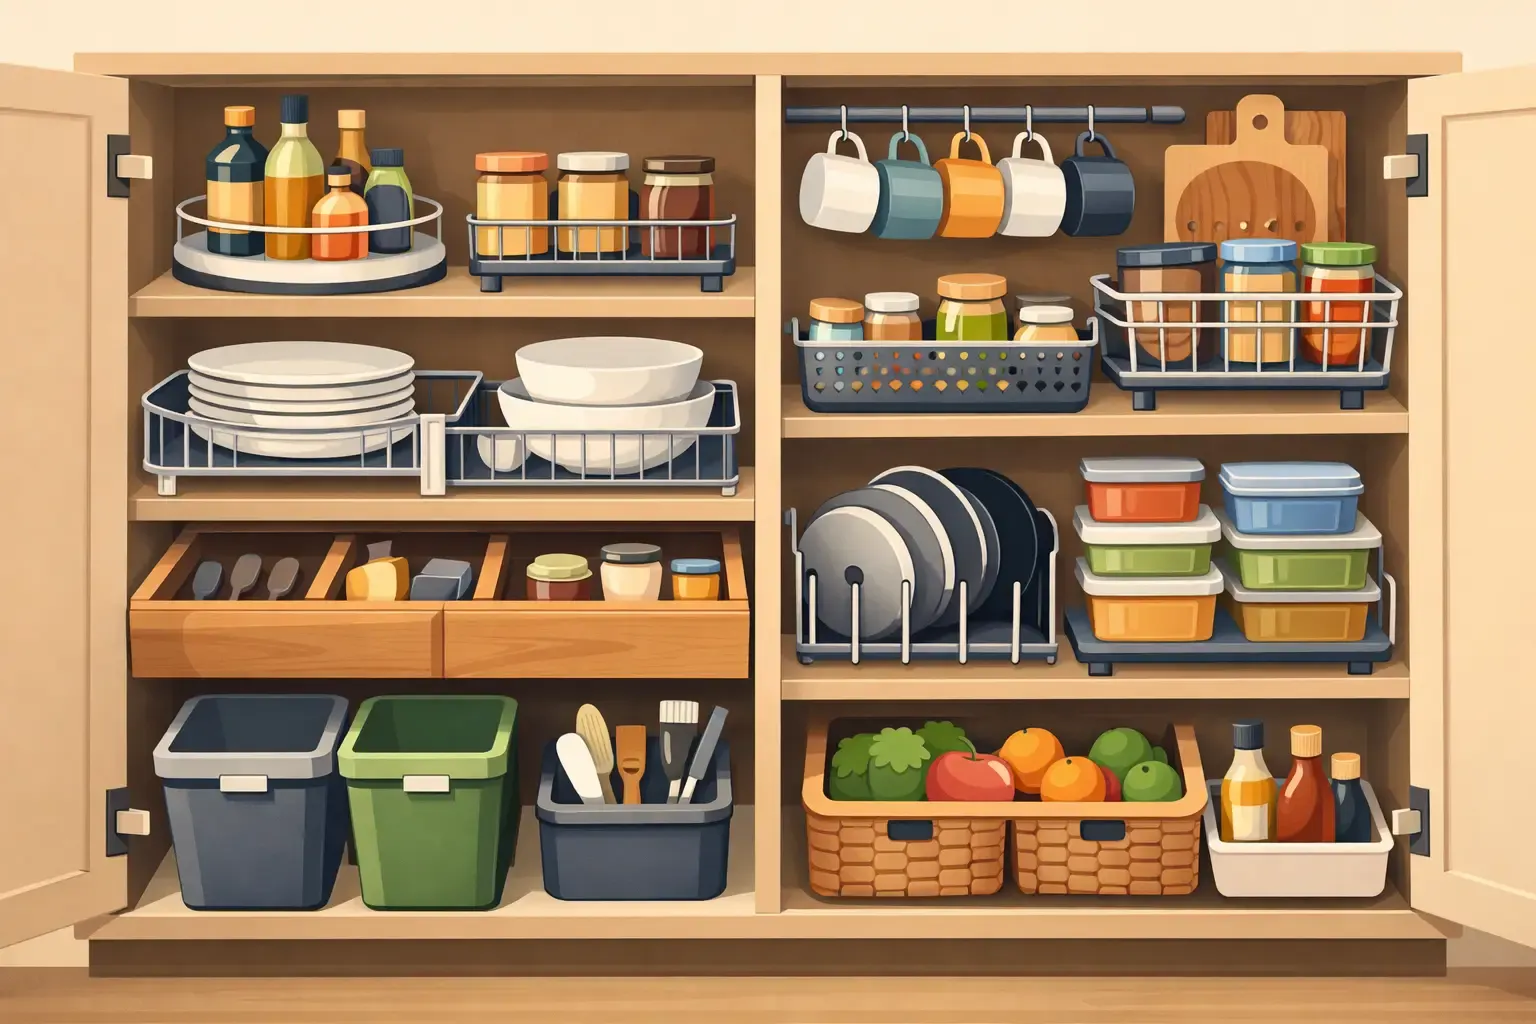
Before installation day, review the approved cabinet plan with your contractor or designer. This is the time to confirm cabinet locations, door styles, hardware, finishes, appliance openings, and special features such as pullout organizers, appliance garages, wine storage, or a built-in range hood surround.
Small changes can have a large effect once cabinets are ordered or on site. Moving a sink base, changing the width of a refrigerator opening, or adding a microwave drawer may affect electrical, plumbing, ventilation, trim, and countertop layouts. If something no longer fits your routine or your vision, speak up early. Clear decisions before installation protect both your schedule and your budget.
It also helps to ask what is included in the installation scope. For example, cabinet installation may be scheduled separately from countertop templating, backsplash tile, painting, appliance hookups, or final hardware installation. Knowing the sequence keeps expectations clear and helps you plan for the temporary inconvenience of having an unfinished kitchen.
Clear the Room and Create a Safe Work Zone
Your installers need more than an empty countertop. They need safe, open paths to carry cabinets, tools, and materials through the home without risking damage to walls, furniture, or the cabinetry itself.
Remove everything from existing cabinets, drawers, pantry shelves, and nearby closets that may be affected by the work. Pack dishes, small appliances, food, cleaning supplies, and personal items before demolition or installation begins. Keep essentials in clearly marked bins so you can find what you need while your kitchen is out of service.
Move freestanding furniture, rugs, wall décor, and breakable items away from the work area and the route from the entry door to the room. If a dining room, hallway, or living space will be used for staging materials, clear that space as well. Your project team may use floor protection, but removing obstacles is still one of the simplest ways to prevent accidents.
If children or pets live in the home, establish boundaries before work starts. Installation involves sharp tools, heavy components, open doorways, dust, and frequent movement in and out of the house. A separate, comfortable area for pets and a clear rule about the work zone can make the day safer and less stressful for everyone.
Make Access Easy for the Installation Crew
Cabinets are large, heavy, and often delivered in multiple boxes or assembled pieces. Before the scheduled date, make sure the driveway, walkway, and closest entry point are accessible. Move vehicles if they block loading or unloading, unlock gates, and trim back any low branches that interfere with the path.
Inside, measure the practical route into the room if access is tight. Narrow halls, low stairwells, sharp turns, and small door openings can affect how cabinetry is carried inside. Your cabinet professional will typically evaluate access during planning, but let them know if anything has changed since the site visit.
Plan for a responsible adult to be available at the start of the workday. That person should be able to answer questions, confirm access, and make timely decisions if an unexpected site condition appears. You do not need to hover over the crew, but being reachable avoids delays when a question requires homeowner approval.
Finish the Behind-the-Wall Work First
Cabinets cover walls, plumbing lines, and portions of the floor, so the room should be ready before they go in. Any required rough plumbing, electrical updates, HVAC adjustments, gas-line work, wall repairs, or structural changes should be completed and inspected before cabinet installation begins.
This step matters especially in older Nashville-area homes, where walls and floors may not be perfectly straight or level. An experienced installer can scribe and fit cabinetry for a refined appearance, but unresolved framing, moisture damage, or uneven subfloor issues should be addressed first. Cabinets should not be used to hide an active problem.
Confirm the location of outlet boxes, switches, water shutoffs, drain lines, and appliance connections against the final plan. A dishwasher needs the right opening and connections. A range may require a specific electrical circuit or gas location. An island may need power for outlets, lighting, or charging drawers. Once cabinetry is installed, relocating these elements becomes more complicated and expensive.
Never ask an installer to work around active leaks, exposed wiring, or an unapproved gas connection. Those conditions deserve attention from the appropriate licensed professional before cabinetry is set.
Check Floors, Walls, and Ceiling Details
One of the most common homeowner questions is whether flooring should go in before or after cabinets. The answer depends on the material, the project design, and the condition of the room.
Many remodels install permanent cabinets before certain finished floors, particularly when using flooring that should not be trapped under heavy cabinet boxes. Other projects install flooring first for a continuous appearance or because of an existing layout. There is no one-size-fits-all rule. The right sequence should be decided before installation so cabinet heights, dishwasher clearance, toe kicks, and transitions are all planned correctly.
Walls should be dry, reasonably smooth, and ready for cabinets. Complete major patching, priming, and painting that would be difficult behind cabinetry. If you are adding decorative ceiling beams, crown molding, or a statement range hood, make sure those details have been coordinated with cabinet height and crown dimensions.
Do not worry if your home is not perfectly square. Very few are. Quality installation accounts for real-world conditions through careful shimming, leveling, fastening, and finish work. What matters is identifying unusual conditions early rather than discovering them with a cabinet in hand.
Protect Your Routine While the Room Is Offline
A kitchen remodel affects daily life more than almost any other interior project. Set up a temporary kitchen before your current kitchen is dismantled. A coffee maker, microwave, toaster oven, paper goods, water station, and a small selection of pantry staples can make the transition much easier.
Choose a location away from dust and construction traffic, such as a dining room, laundry room, basement, or covered outdoor space when weather allows. Keep your temporary setup simple. This is not the week to attempt elaborate meals or store every dish within reach.
You should also plan for noise, dust, and limited access. Even with careful containment and cleanup practices, cabinet installation is active work. If you work from home, schedule calls away from the work zone. If you have a major gathering planned, consider whether the project calendar leaves enough cushion for the unexpected. A well-planned renovation is predictable, but weather, inspections, material deliveries, and hidden conditions can still influence timing.
Inspect Materials Without Creating Delays
When cabinets arrive, your project team will generally inspect them for visible damage and compare them to the order. Homeowners can help by providing a clean, dry staging area and avoiding the temptation to open every package or move components around.
If you notice a concern, document it and notify your contractor promptly. A finish variation, a missing part, or transit damage is best handled before the installation is too far along. At the same time, do not assume every separate panel or unfinished edge is an error. Fillers, end panels, toe-kick pieces, trim, and scribe material often look different before the cabinetry is assembled and finished in place.
Save Final Decisions for the Walkthrough
As installation nears completion, a final walkthrough gives you the opportunity to review door and drawer alignment, hardware placement, trim details, cabinet operation, and overall fit. This is the right time to ask questions about care, cleaning, touch-ups, and what comes next for countertops or other finishing trades.
Avoid using new cabinets as storage until the crew confirms they are ready. Fresh adjustments, final fastening, and cleanup are easier when drawers and shelves are empty. Once the room is complete, take a moment to appreciate the details that made the project feel personal: the right pantry layout, the drawer that finally holds your pots, the island designed for homework and weekend conversations.
At Tom Bell Cabinetry & Custom, careful preparation is part of the craftsmanship. A clear plan and a ready home give every cabinet, detail, and finish the chance to look its best – and give you more confidence from the first installation day onward.