A kitchen can have beautiful cabinet doors, premium hardware, and a thoughtful layout on paper, then still feel disappointing if the installation is off by even a small amount. This kitchen cabinet installation guide explains what separates a clean, lasting installation from a project that creates crooked reveals, countertop problems, and costly adjustments later. For homeowners planning a kitchen renovation in Nashville, Brentwood, Franklin, or elsewhere in Middle Tennessee, the goal is simple: cabinetry should look intentional, work comfortably, and hold up to real family life.
Why Cabinet Installation Deserves Careful Planning
Cabinets are not simply boxes fastened to a wall. They establish the height and alignment of your counters, affect how appliances fit, determine whether drawers open freely, and create the visual lines that make a kitchen feel polished. A cabinet installation is only as good as the room measurements and preparation behind it.
Older homes often add another layer of complexity. Walls may not be perfectly straight, floors may slope, and corners may not be square. Those conditions are normal, especially in established Nashville-area homes, but they need to be identified before cabinets arrive. Trying to force square cabinets into an uneven room without a plan usually leads to oversized gaps, awkward filler pieces, or doors that appear misaligned.
That is why a clear installation plan begins before demolition or delivery. It protects the design, the budget, and the schedule.
Kitchen Cabinet Installation Guide: Start Before the Boxes Arrive
The best installation day is quiet and organized because the decisions were made earlier. Before any cabinet is set in place, confirm the final layout against the actual room, not just an early drawing.
Verify the finished floor, walls, and ceiling
Cabinet heights are based on finished floor level, not a subfloor that will later receive hardwood, tile, or luxury vinyl. If flooring is going under the cabinets, account for its thickness. If flooring stops at the cabinet toe kicks, establish the exact finished-floor height before setting the bases.
Use a level or laser to find the highest point of the floor along the cabinet run. Base cabinets are installed from that reference point so the countertop will be level. The lower areas are brought up with shims. Starting from the lowest point may seem logical, but it can leave the rest of the run too high or out of level.
Walls and ceilings need the same attention. A wavy wall can create a visible gap behind an upper cabinet, while a low ceiling may affect crown molding or tall pantry placement. These issues do not mean the project cannot move forward. They simply call for thoughtful scribing, trim work, or layout adjustments.
Confirm utilities before closing anything in
Plumbing, electrical, gas, venting, and appliance specifications must match the final cabinet plan. This is especially critical around sink bases, dishwashers, ranges, refrigerators, and microwave locations. A drain line that lands in the wrong place can reduce usable storage inside a sink cabinet. An outlet hidden behind a drawer bank is inconvenient at best and a rework issue at worst.
Appliance cut sheets should be reviewed before installation, not after countertops are templated. Refrigerator depth, dishwasher clearance, range width, and hood requirements all influence cabinet spacing. Panel-ready appliances deserve extra care because their doors must align with adjacent cabinetry while still opening fully.
The Correct Order Keeps the Kitchen Square
A reliable sequence prevents small errors from multiplying across the room. In most kitchens, upper cabinets go in before base cabinets. This gives installers room to work without leaning over lower cabinetry or damaging finished surfaces.
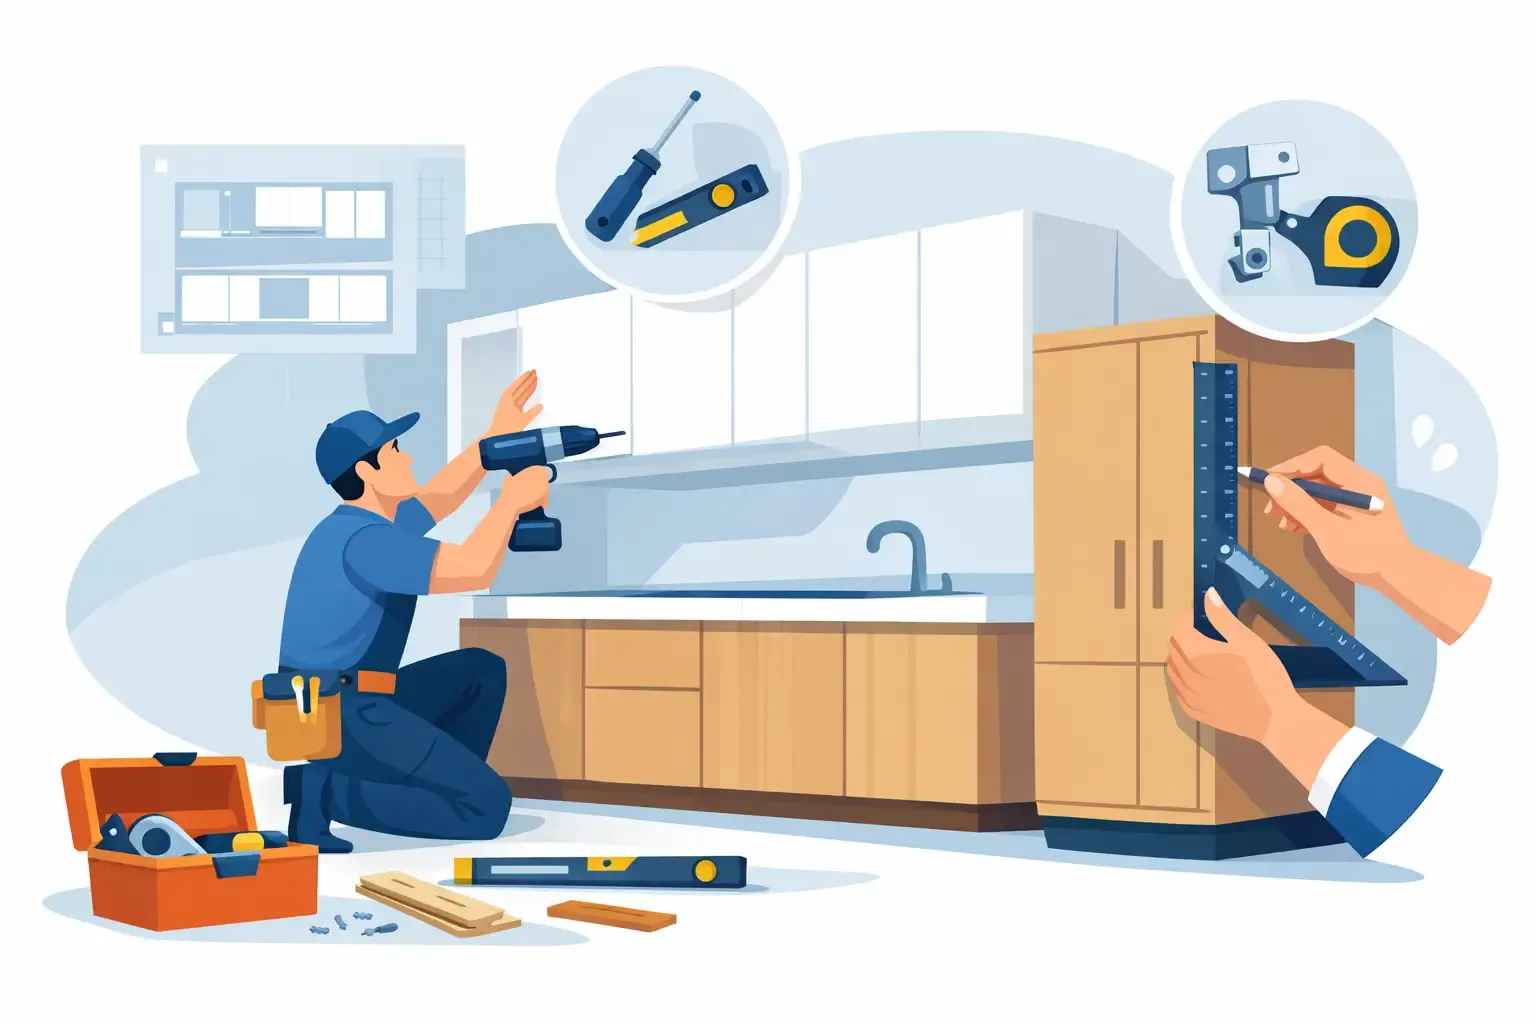
First, mark the cabinet layout and the wall stud locations. Secure, clearly marked studs are essential because upper cabinets carry significant weight once they are loaded with dishes and pantry items. A ledger board installed at the bottom line of the uppers can support cabinets during fastening and help keep the run at the correct height.
Set the first upper cabinet at a corner or a key reference point, then check it for level and plumb before connecting the next cabinet. Clamp face frames together carefully, predrill where needed, and fasten cabinets to one another before securing the full assembly to the wall. Continue checking the run as you go. A cabinet that is only slightly out of position at one end can create a noticeable problem several cabinets later.
Base cabinets follow the same principle. Begin at the highest point of the floor, level each cabinet, and shim as necessary. Join adjacent cabinets through their face frames, secure them to the wall, and repeatedly check for level from front to back and side to side. Do not rely on the floor or wall to make the cabinets straight. The cabinetry itself must create the level plane for the countertop.
Details That Make Custom Work Look Custom
The visible details are where craftsmanship becomes easy to recognize. Cabinet boxes can be level while the finished kitchen still looks off if door gaps, end panels, trim, and filler pieces are treated as afterthoughts.
Doors and drawer fronts should be adjusted after the cabinet boxes are fully secured. Consistent spacing between doors, even horizontal lines, and smooth drawer action create the calm, tailored look homeowners expect from a renovated kitchen. Hinges and drawer slides are adjustable for a reason. Final tuning is part of the installation, not an optional extra.
Fillers are equally important. A narrow filler may be needed beside a wall, near a refrigerator, or at a corner so doors and drawers can open without hitting trim or hardware. The goal is not to hide a mistake with a large piece of filler. It is to plan the right clearance from the beginning and make any necessary fillers look like a deliberate part of the design.
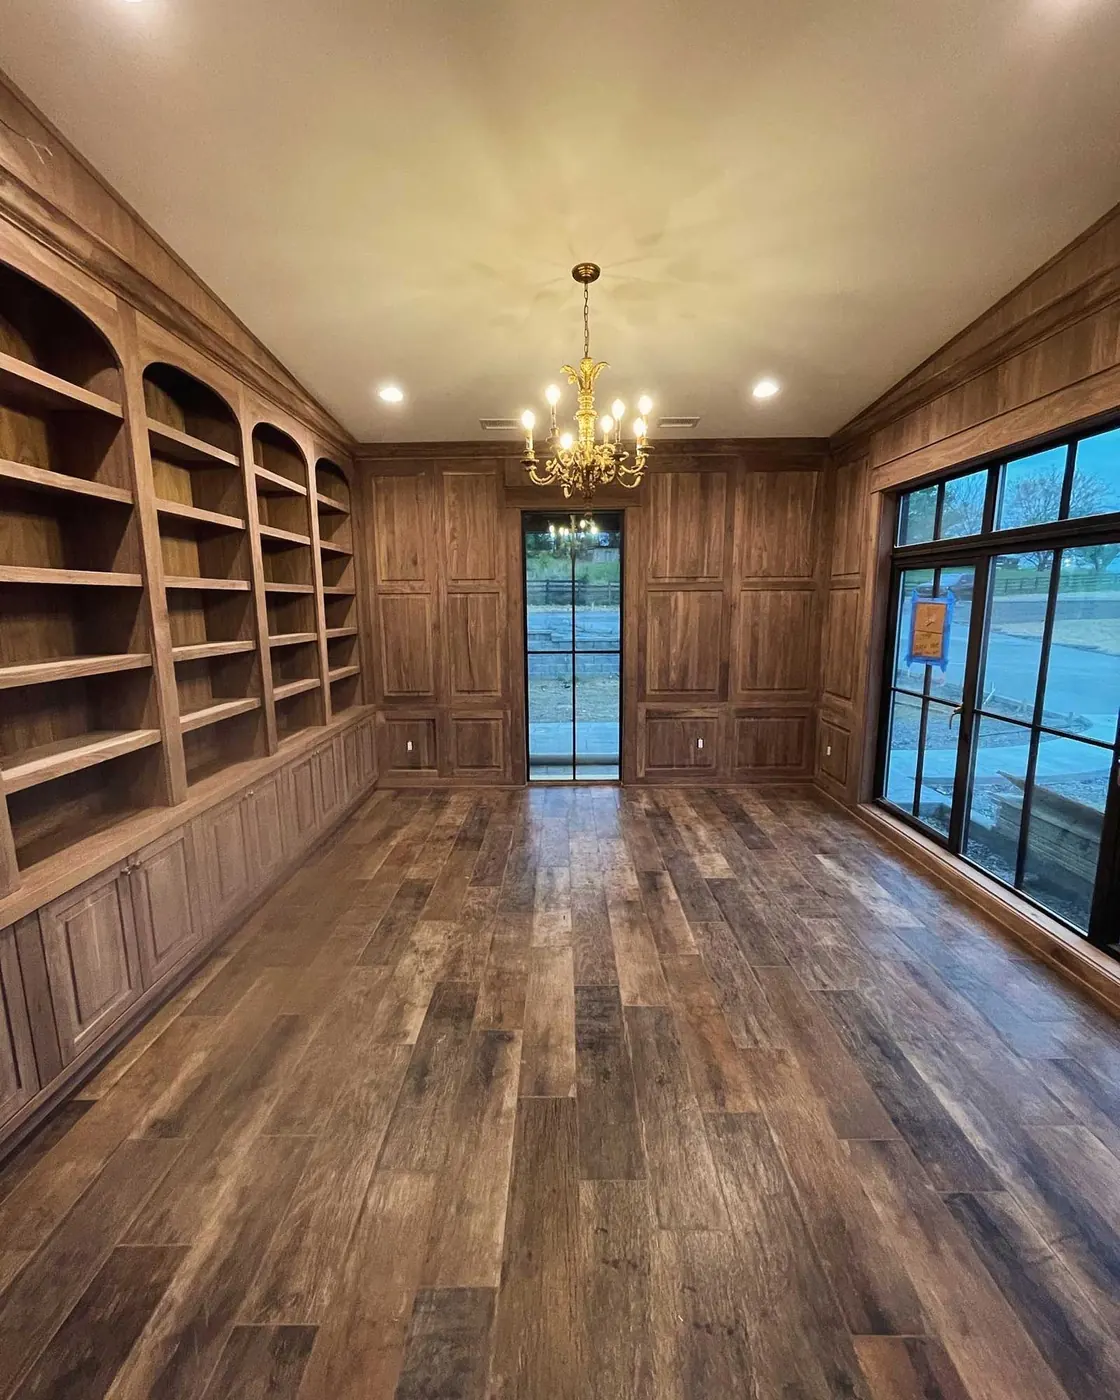
End panels, crown molding, light rail, and toe kicks should match the cabinet style and be installed with clean transitions. In custom cabinetry, these details can be built around the room’s particular conditions. With RTA or stock cabinets, careful planning and skilled finish work can still produce an elevated result while keeping the project more budget-conscious.
Countertops and Cabinets Must Work as One System
Once base cabinets are level, secure, and fully supported, the countertop can be measured or templated. This is not the moment to rush. Stone countertops cannot compensate for an uneven cabinet run, and a poor cabinet installation can create stress points that increase the risk of cracking.
Before template day, make sure all base cabinets are permanently installed, panels are in place where required, and the sink base is correctly located. Confirm the overhang, backsplash plan, and any special details at islands or peninsulas. If your kitchen includes a large island, check its position from every major walkway. An island that looks centered on a drawing may feel too close to a range or refrigerator once installed.
After countertop installation, the remaining finish work can move forward: sink connection, faucet installation, backsplash, hardware, and final door adjustments. Protect cabinet surfaces throughout this stage. A beautiful painted finish or natural wood grain deserves the same care after installation as it did in the shop.
When DIY Makes Sense and When It Does Not
A capable homeowner may be comfortable assembling and installing a short run of stock cabinets in a simple, square room. It can be a practical way to reduce labor costs, particularly for a laundry room, basement bar, or modest rental update.
A full kitchen renovation has more moving parts. Uneven floors, custom panels, tall cabinets, appliance coordination, crown molding, electrical changes, and stone countertops all increase the consequences of a small measuring error. Professional installation is often the better value when the kitchen is a major investment, the layout is complex, or the cabinetry is custom-built for the room.
At Tom Bell Cabinetry & Custom, the installation process is approached as part of the finished craftsmanship, not a separate handoff. Clear measurements, realistic sequencing, and careful communication help homeowners make decisions confidently without losing sight of budget or daily life at home.
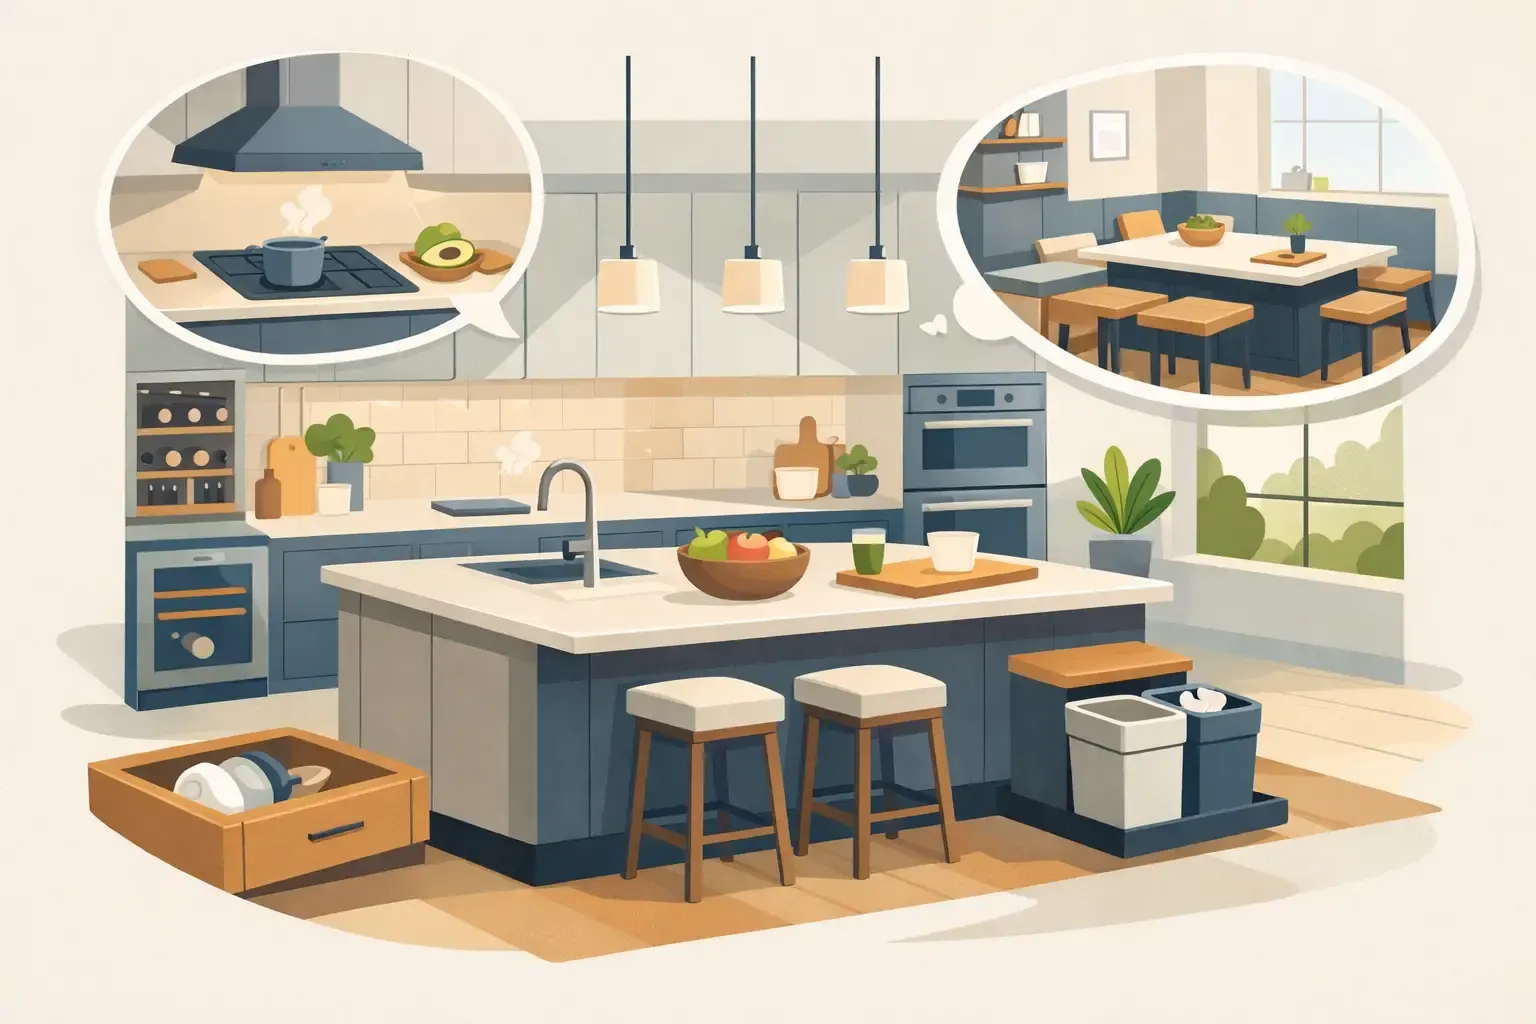
Before approving your final cabinet plan, stand in the kitchen and picture an ordinary morning: someone unloading the dishwasher, another person opening the refrigerator, coffee brewing, and drawers in use. The best installation is not just level on a laser. It gives your household room to move, gather, and fall in love with the kitchen again.
Planning a Kitchen Remodel in Middle Tennessee?
Our kitchen remodeling service in Nashville keeps the cabinetry in-house: designed, built, and installed by one crew out of our Madison, TN shop. See our custom cabinet work, or talk through built-in storage for the rest of the house.
Call (615) 469-2781 to book a consultation.